Most importantly, it is absolutely necessary that you use only SINGER® branded needles. Other brands can eventually damage the hook and the machine will require servicing. You can use a 2000 or 2020 for natural or woven fabrics and 2001 or 2045 for knits and other synthetics.
Accessory Use
Embroidery Designs
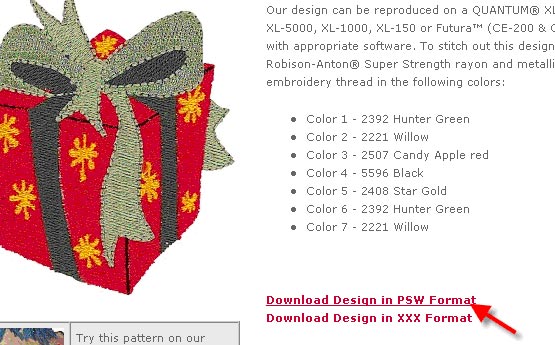
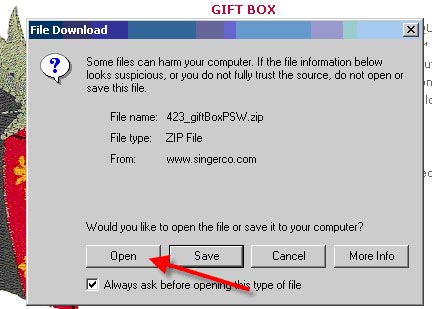
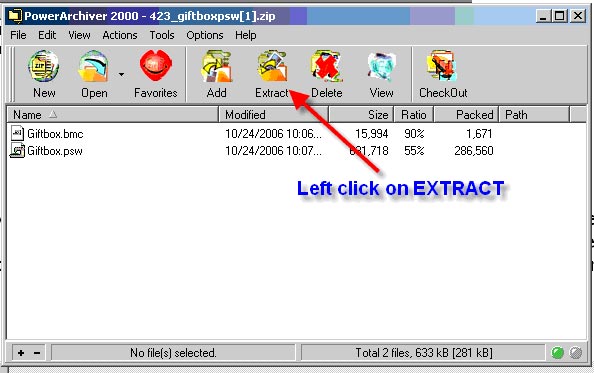
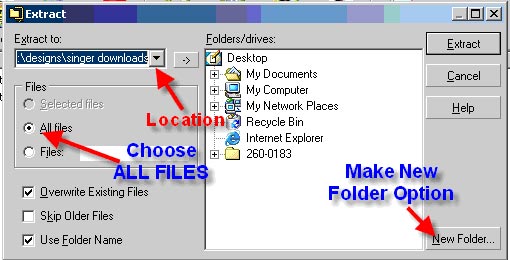
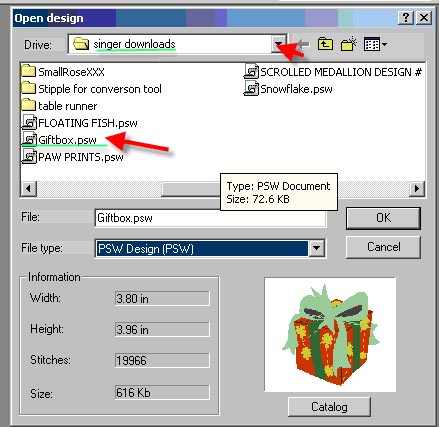
The file may not have been unzipped.
See the other FAQ on "How do I unzip a file that I have downloaded"?
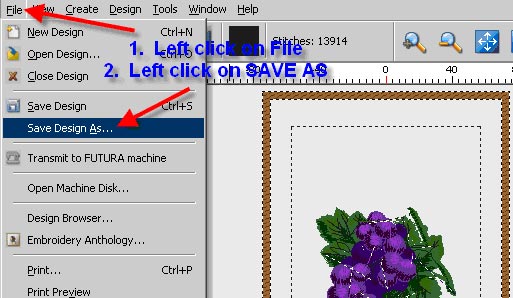
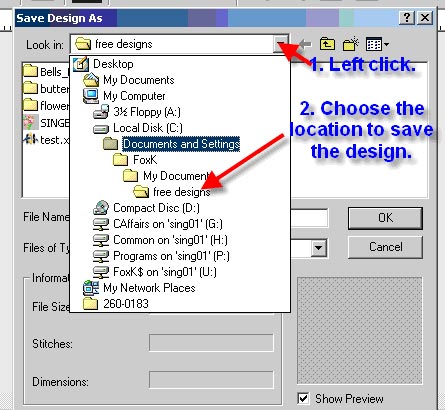
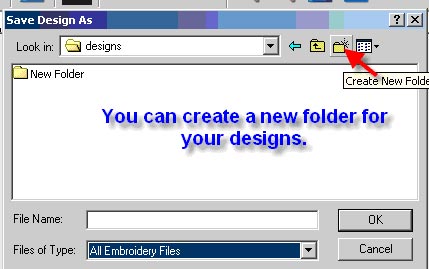
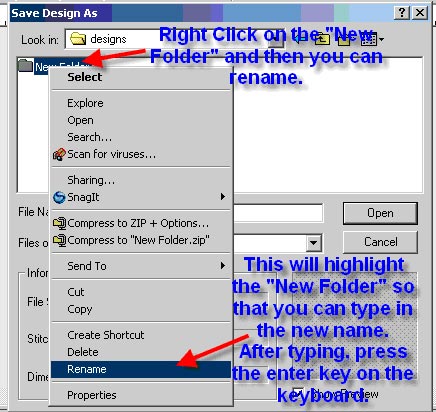
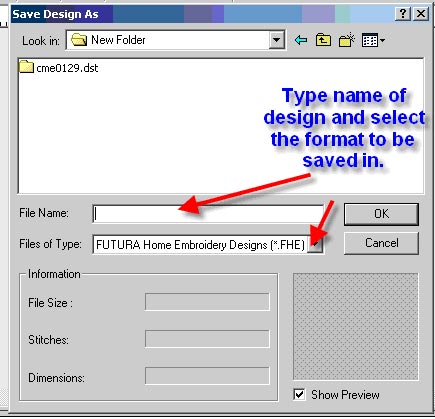
1. From the toolbar left click on file, and then from the drop-down menu select "Save Design As".
Embroidery Use
1. In order to wind a bobbin you must transmit a design to the machine, as well as send a block to your sewing machine.
The “Embroidery Anthology” selection on the drop down menu under “File”, on your Futura toolbar, is CURRENTLY UNAVAILABLE.This selection has been included with the intention of making additional embroidery designs available in the future. As soon as information is available on this feature, a notice will appear on this website.
On the front of the machine, just above the "Start" button (red/green light) is the "Return Arrow" button. In embroidery mode, this will back up stitches while depressed.
The "Needle Down" button (sewing mode) will forward a stitch at a time when depressed.
The following steps must be followed for proper start-up. If these steps are not followed precisely, you will get a “Transmission Pending” error message.
Embroidery Use- Hoop
Machine Use
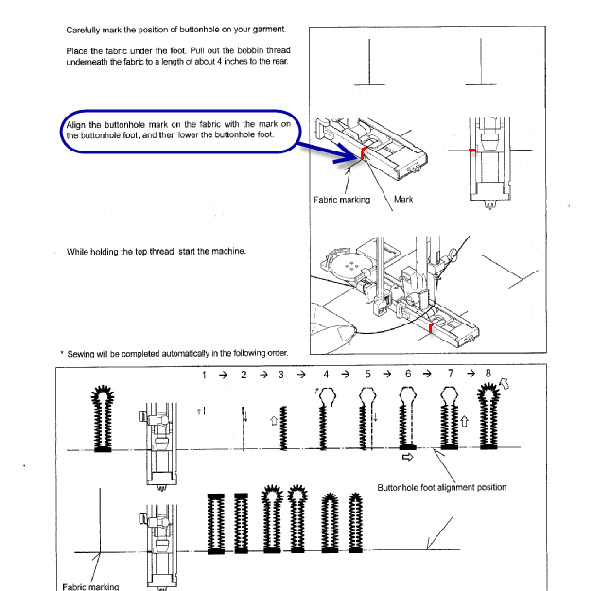
The following illustrates how to sew a 1-step Buttonhole:
You must use bobbin part number 085128. This bobbin is specifically designed for the SINGER Futura . Do not use standard class 15 bobbins. Do not use metal bobbins. Pre-wound bobbins are not recommended, as they cause tension problems and will result in poor quality embroidery.
Software Installation
See the attached PDF on how to download the software.
Click here to learn how to install drivers.
Software Use
Uninstall the software for the SINGER Futura™and then re-install it.
When a design is “Optimized,” the program cleans up the extra stitches that occur naturally when an area is filled with stitches. This reduces the stitch count and crisps up the design, shortening the sewing time.

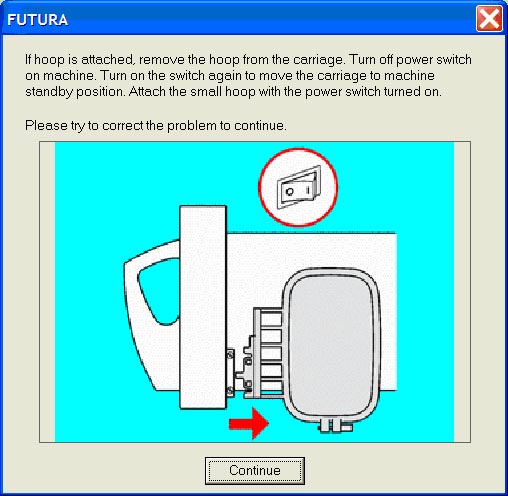
SINGER® FUTURA™ machines report the hoop attached to the computer only one time, when the SINGER® Futura™ program is started. If there is no hoop attached the program will assume that the large hoop is mounted. So, if a user decides to use a different hoop than the one the machine has detected, it is necessary to change the program's setting before embroidering (see below procedure, Step 4). However, there is a correct procedure/sequence to set up the SINGER® Futura™ machines for embroidery. Preparing to embroider out of sequence will cause the computer to display an Error Message if the small hoop is used: The proper way to set up for embroidery on the SINGER® Futura™ machines is as follows:
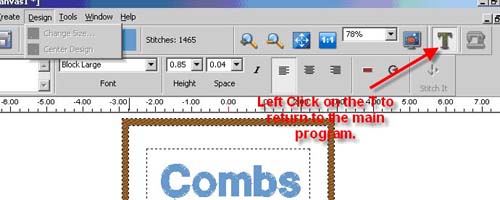
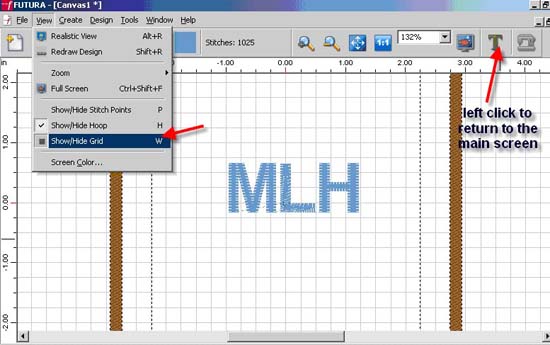
This will usually result when you are in the Text portion of your software. Simply left click on the "T" to return to the main program and all of the tools should now be accessible.
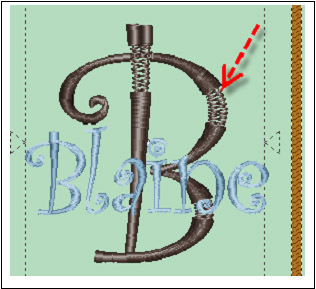
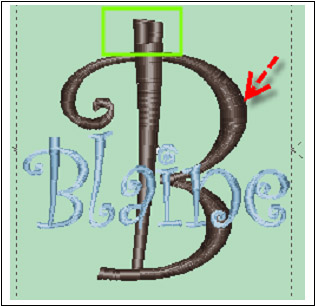
1. Place the Stock Design CD in the tray. You will see a Start Up Screen. Please close this screen.
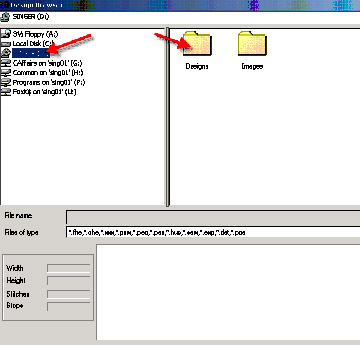
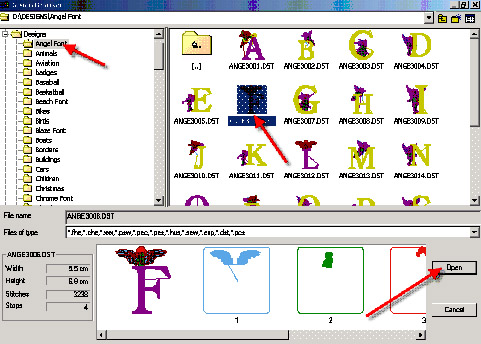
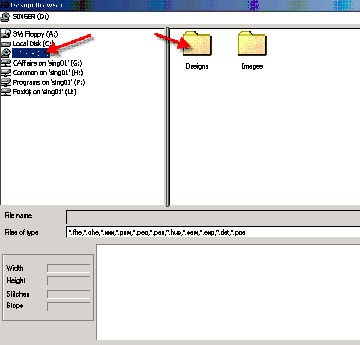
1. To view designs from a Stock Design CD, place the CD in the CD tray and use the design browser.
Click on "Tools" on your toolbar. Click on "System Parameters" Under Unit System you have the option to select the Metric or English system.

To insert a stop, just left click on the color block on the Horizontal tool bar before adding the lettering.

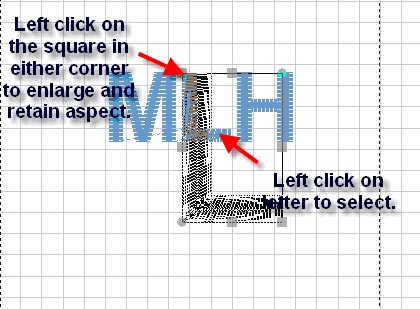
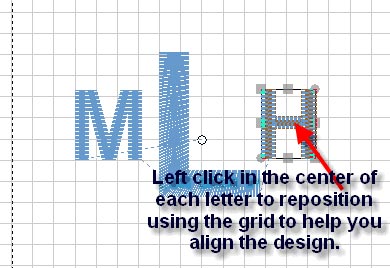
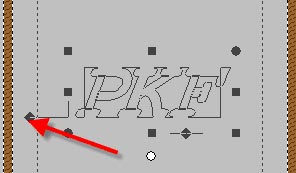
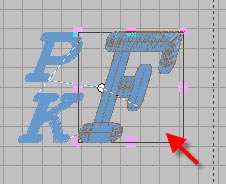
Whether using HyperFont software or your choice of the two built-in fonts, you can create a monogram in the software for the SINGER FUTURA. This can be either 2 or 3 letters. Apply the stitches. Next de-select the Text tool to return to the main screen. Now add your grid lines by left clicking on VIEW on the horizontal tool bar and select Show Grid:
Software Use (Designs)
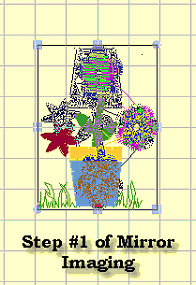
1. Yes, left click and drag a box around the desired area to select it. This will highlight the section.
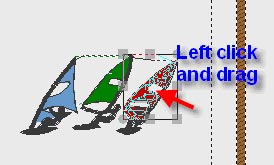
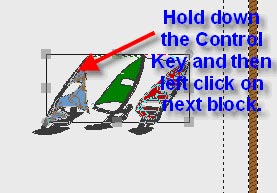
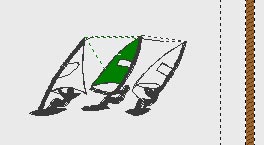
The machine has a certain limit of stitches that it can accept. These big blocks are likely exceeding the limit and are cut, leaving a certain number of stitches (could possibly be only a few) as a separate block.
1. Select "Show/Hide Grid". On the top tool bar click on 1.1 Open design 2 (B).
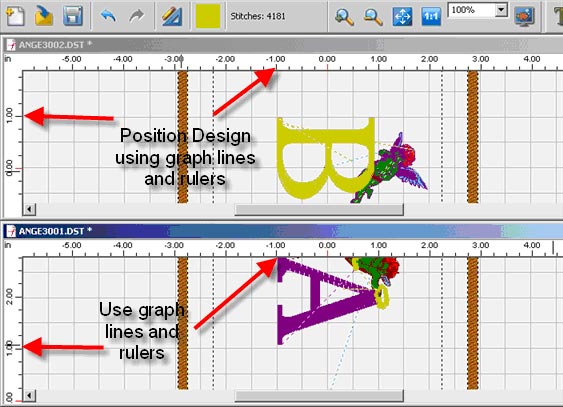

1. Click on “Create” on the top tool bar.
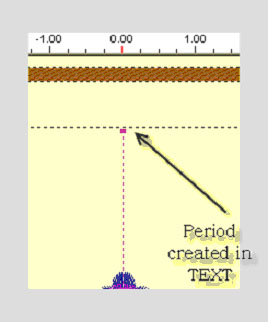
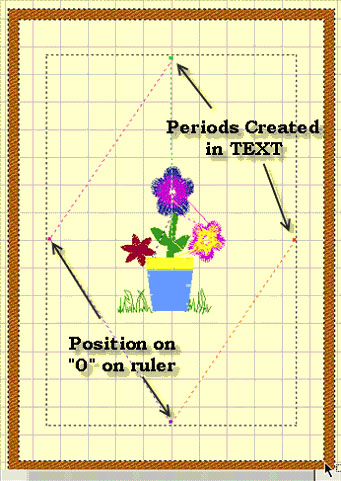
1. Pull up the design and center in the hoop on screen. Left click on the lettering tool. In the text box type a period. Insert a color change by left clicking on the color box on the horizontal tool bar; choose another color from the palette. Now move the text box off the design toward the top of the hoop. Left click on “Stitch It.”
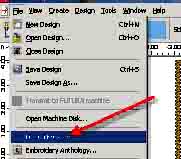
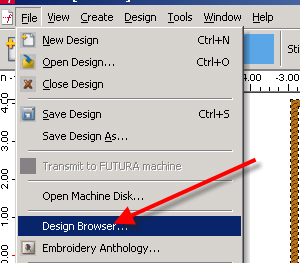
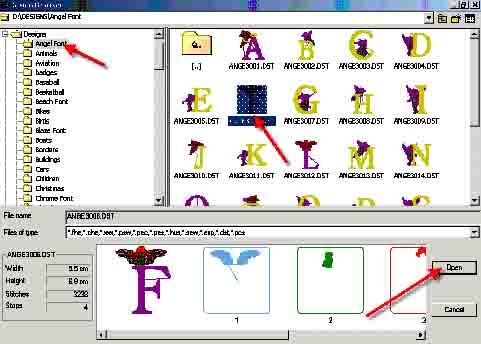
Use the "DESIGN BROWSER" located under FILE on the horizontal tool bar.
Not only can you view the design, but also when you select it you can see the color blocks, size and stitch count.

FHE, CHE, XXX, PSW, PEC, PES, HUS, SEW, EXP, DST, AND PCS.
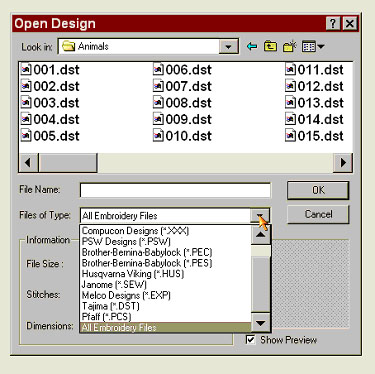
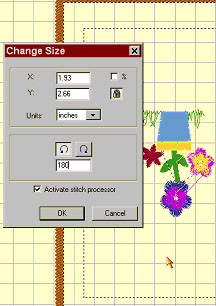
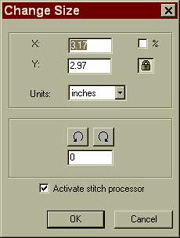
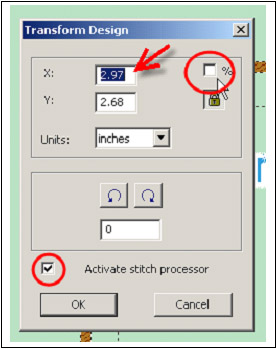
1. When importing a design from an outside source, the designs can be resized using the Change Size dialog box.
2. To change the design proportionately, first click a ‘check’ in the box above the Padlock icon. This will convert the dimensions from working in actual measurements, to working in percentages.
3. Simply type in the amount of change in either the X or Y dimension box. Click OK, and the design will change size and will recalculate the density.
4. When clicking and dragging around an imported design to change size, it is possible to change size proportionately by clicking and dragging either the upper left or lower right corner. However, even though the design has changed size, it does not (using this method of resizing) recalculate the density.
5. When using designs from the SINGER Futura™ Library, it is possible to resize in either method above, and the design density will recalculate.
When sizing designs in the software for the SINGER FUTURA you can resize designs from the Library in the hoop on screen and keep the design integrity.
All other formats should be changed in the DESIGN/CHANGE SIZE menu in order to change the stitch count.

In the software for the SINGER FUTURA it will recalculate the stitch of an imported design when sizing, but only when using the DESIGN>CHANGE SIZE option. It does have a limitation of re-sizing up to 149% and down sizing to 51% and while still being able to re-calculate the stitches correctly
Software Use (Lettering)
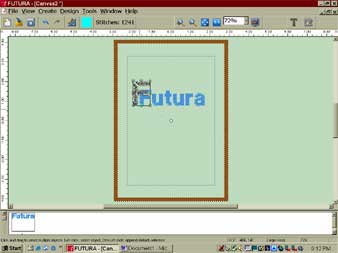
The density is set to a standard value of 4/10th of mm, which is usually the standard density used for Lettering.
The value is not editable.
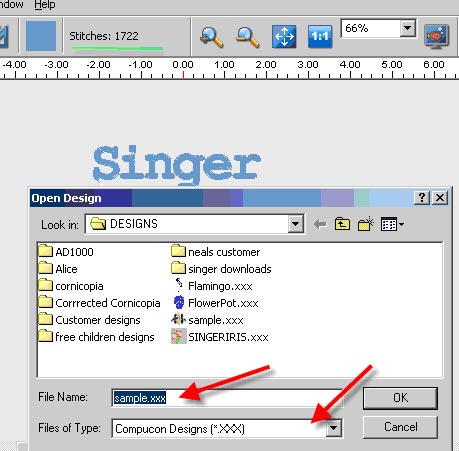
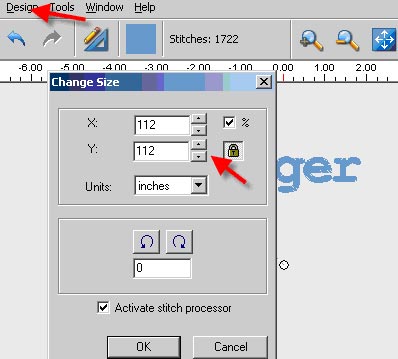
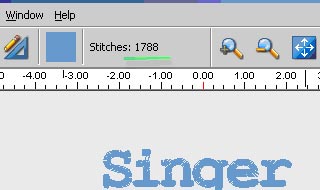
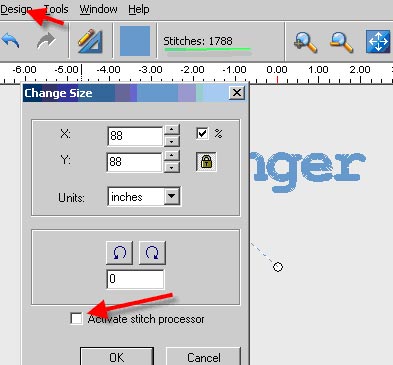
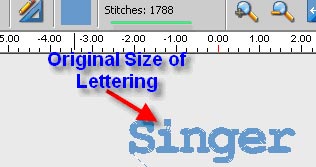
To add density to built-in lettering use the following directions. This process will work both with the built-in fonts and the ones created using Hyperfont.
Software Use- Auto CrossStitch™
To load base software and AutoCross Stitch 1.0.0.1 (If you have other options programs such as AutoPunch, HyperFont etc, load those first before loading AutoCross Stitch)
Software Use- AutoPunch™
There is a very informative manual located on the AutoPunch™ CD.
To access the manual return the CD to the drive and go into Window Explore and find the AutoPunch™ CD. You will find a file named “Manual,” just double left click on the icon and it will open the .PDF file OR access if here:
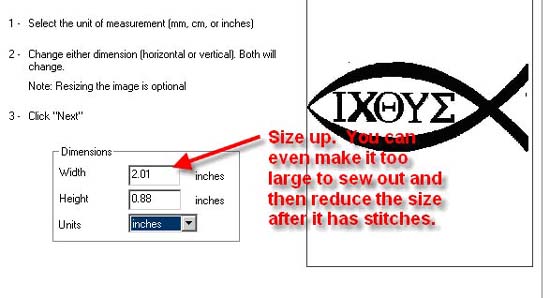
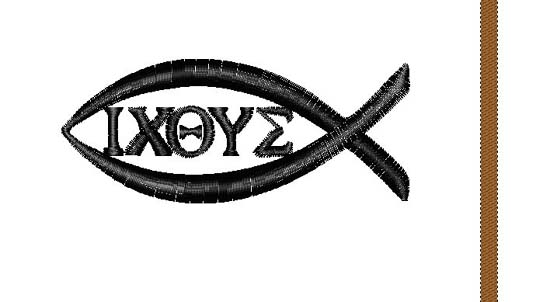
AutoPunch™ will read imported clipart files. It will not in most instances do an adequate job of digitizing lettering created in Word. If you save it in a high resolution and size up the design before you try to digitize it you can have better results.
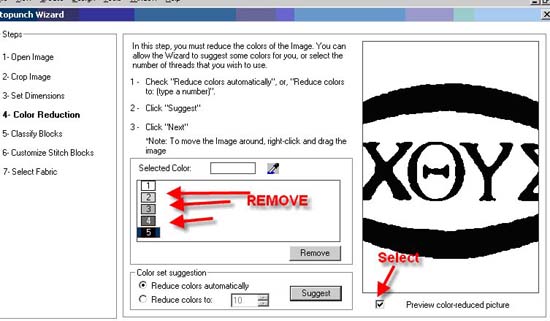
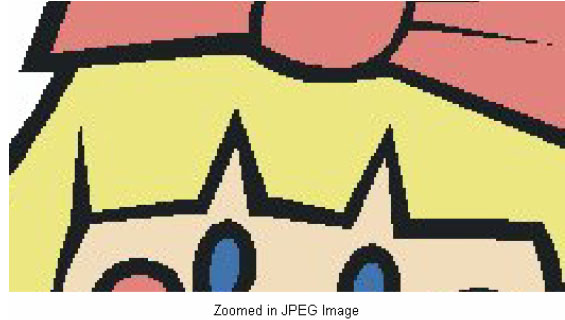
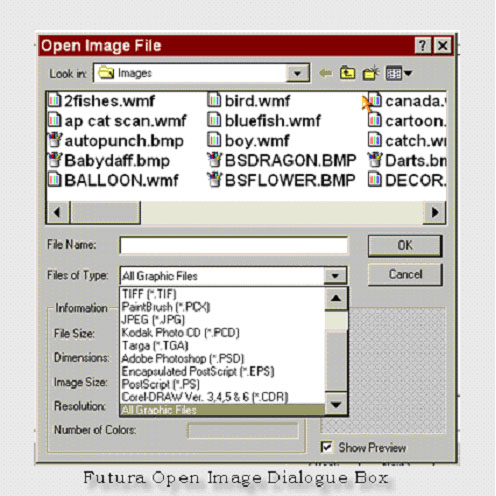
Color Reduction cleans up and simplifies an image by reducing the number of colors in an image. You can either allow the program to decide the colors or manually select the colors.

AutoPunch™ is not suitable for the creation of lettering. It is unable to read the data in order to process it correctly. Even if you created the letters in graphics software and brought them into the SINGER Futura™ program, the AutoPunch™ is unable create a satisfactory result.
There is an optional program called HyperFont™ that will automatically digitize any built-in TrueType fonts from your computer. This program is available through your local SINGER Retailer.
AutoPunch™ is not suitable for digitizing TrueType Fonts. There is however an optional program that you may purchase called HyperFont™. This software is designed specifically to digitize the TrueType fonts that are available on your computer.
Visit your local SINGER Retailer for details.
While the software will read various formats, not all images are suitable for AutoPunch.™ AutoPunch™ digitizes by color change. Clear, simple images will give the best results. AutoPunch™ is not suitable for use with photos. The PhotoStitch™ software has the ability to change photos into embroidery designs.
This program is available through your local SINGER Retailer.
Software Use- HyperFont™
To load base software 1.0.0.1 with AutoPunch 1.0.0.1 with Hyperfont 1.0.0.2 or Photo Stitch 1.0.0.2
See this PDF for how to "Create Hyperfont Text" in the SINGER Futura Sewing & Embroidery Machine.
Software Use- PhotoStitch™
To load base software 1.0.0.1 with AutoPunch 1.0.0.1 with Hyperfont 1.0.0.2 or Photo Stitch 1.0.0.2
Software Use-Editing
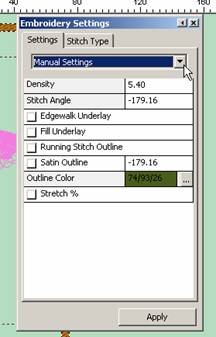
1. When working with an imported file type you will need to Convert Stitches to Block in order to change the Embroidery Settings.
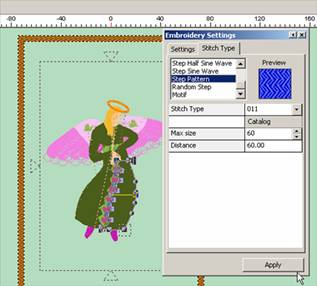
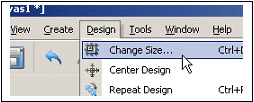
1. Open the design. Then on the top tool bar choose Design ->Change Size.
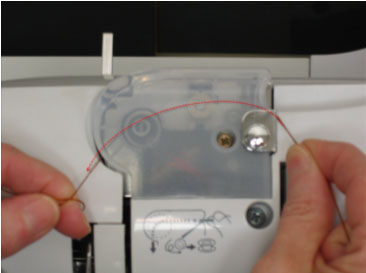
Thread Break
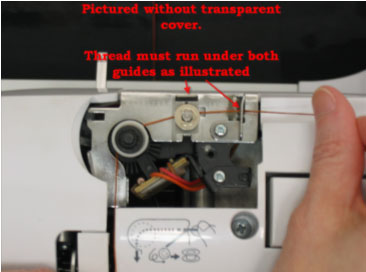
If you need to back up within a design, simply touch the backstitch icon on the front of your machine.

