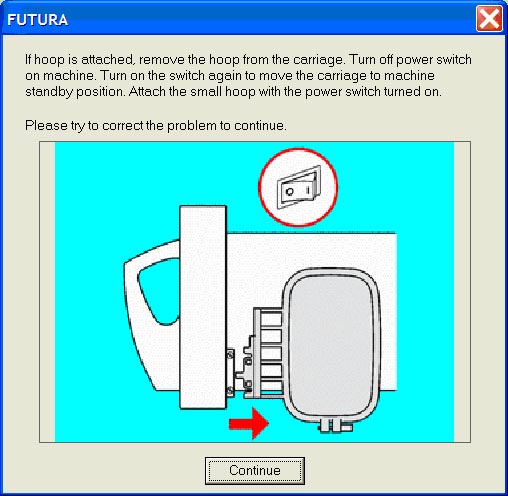
SINGER® FUTURA™ machines report the hoop attached to the computer only one time, when the SINGER® Futura™ program is started. If there is no hoop attached the program will assume that the large hoop is mounted. So, if a user decides to use a different hoop than the one the machine has detected, it is necessary to change the program's setting before embroidering (see below procedure, Step 4). However, there is a correct procedure/sequence to set up the SINGER® Futura™ machines for embroidery. Preparing to embroider out of sequence will cause the computer to display an Error Message if the small hoop is used: The proper way to set up for embroidery on the SINGER® Futura™ machines is as follows:

1. Turn the SINGER® Futura™ machine on, without the hoop attached.
2. Attach the hoop that you intend to use.
3. Now open the SINGER® Futura™ program. The system detects which hoop is on the machine.
4. If the Large Hoop is on the SINGER® Futura™ machine, but it is desired to change to the Small Hoop, remove the Large Hoop and replace with Small Hoop. However, before selecting a design, it is necessary to go to the Main Menu and select Tools>Select Hoop, then choose Small Hoop. (The same is true for moving from Small Hoop to Large Hoop, once the program has been opened).
However, changing back and forth between hoop sizes can cause the machine to get 'confused'. It is recommended to use the procedure described in Steps 1 through 3.
Note: If the machine is turned on with the small hoop already attached, the "Start Button" on the sewing machine will flash red. It will not be possible to proceed unless the machine is turned off, the hoop removed, and then the above steps followed in correct sequence.

