1. Pull up the design and center in the hoop on screen. Left click on the lettering tool. In the text box type a period. Insert a color change by left clicking on the color box on the horizontal tool bar; choose another color from the palette. Now move the text box off the design toward the top of the hoop. Left click on “Stitch It.”
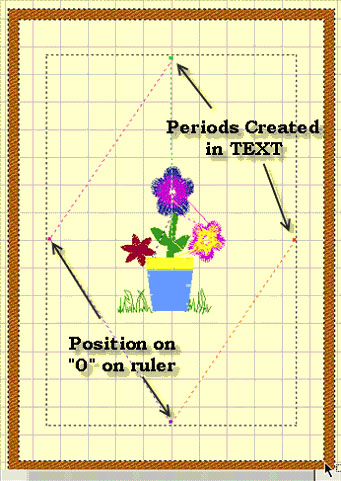
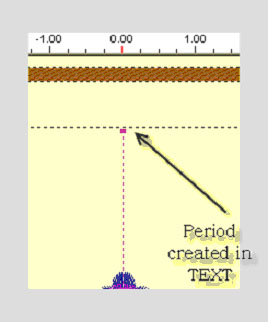
2. Now return to the main screen (deselect lettering by left clicking on it). Select the period to move and position the period just inside the sewing field aligning it with the “0” on the top ruler.
3. Insert a color stop by left clicking on the color box on the top tool bar and selecting another color. Now go back into the lettering portion of the program and repeat the above steps, but this time place the period at the side of the hoop on the “0” on the ruler. When you have placed periods on all four sides, print the design. The periods will show on the printout. You can now use this to make a template for placement. Select the Show Grid option from the View menu on the horizontal tool bar for ease in placement of periods. (The Grid will not print.)