To add density to built-in lettering use the following directions. This process will work both with the built-in fonts and the ones created using Hyperfont.
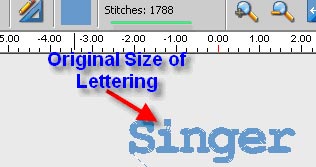
1. Create the lettering as usual. Then save the letters in a format other than the .fhe or .che file. Close the screen.
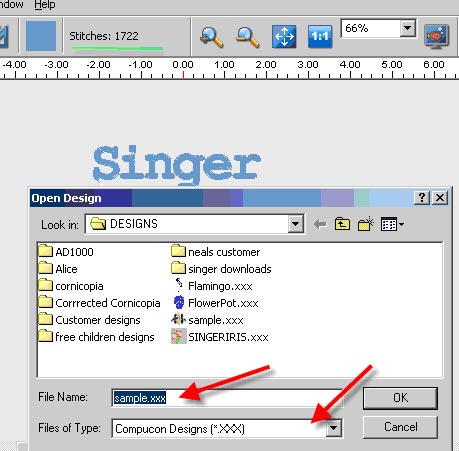
2. Re-open the new design:
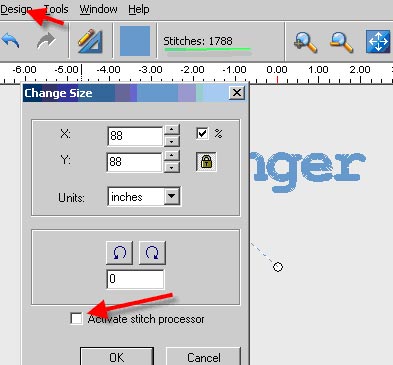
3. When opening the saved file please note the stitch count of this file. Next left click on DESIGN > Change Size on the horizontal tool bar. (You can add more then the 12% shown in this illustration.) We find it easier to do this by percent. Left click on the % box.
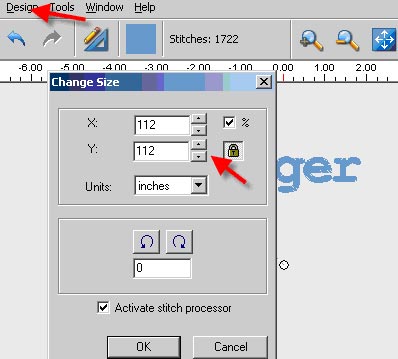
4. Size up the design. With the Stitch Processor activated this will add more stitches to the design. Then press OK. The lettering will now have 12% more stitches.
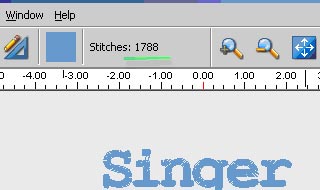
5. Next left click on Design > Change Size and size the lettering back to the original size. But this time DESELECT the Stitch Processor by left clicking on the box.
6. Left click on OK. The design should retain the additional 12% of stitches, but be back to the original lettering size