1. Select "Show/Hide Grid". On the top tool bar click on 1.1 Open design 2 (B).
2. Under "Tools" set the grid size to ½", and then in the "View" menu, select "Show/Hide Grid" to place grid on screen.
3. On the top tool bar click on 1.1 Then on the top tool bar under Windows select the "Tile" option.
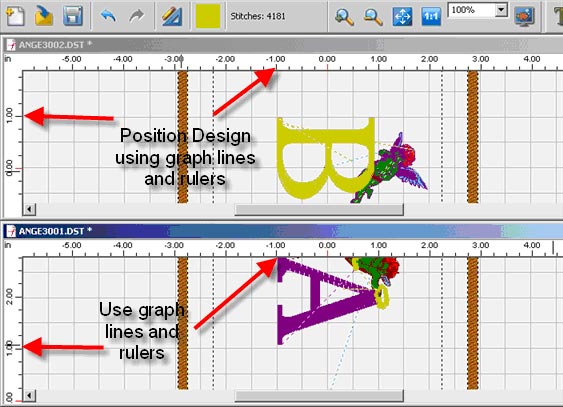
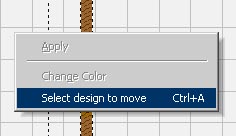
4. You can then adjust and move the design into perfect position, going back and forth between Windows. Right click on the screen and then "Select Design to Move."
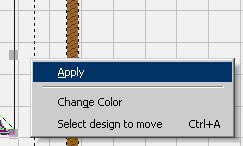
5. Left click on the design and move to desired position. Then right click and select "Apply".
6. You will now be able to embroider multiple designs in a single hoop without repositioning the hoop.
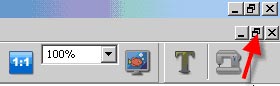
7. To see the design full screen, left click on the left side of the top tool bar on the Minimize/Optimize button.